What are the top 3 practical tips you’d give to someone looking to improve their ultrasound image acquisition skills?
1. Optimize Machine Settings: Familiarize yourself with the ultrasound machine's settings. Adjust the gain, depth, frequency, and focus based on the patient's anatomy and the area being examined. Proper settings can significantly enhance image clarity.
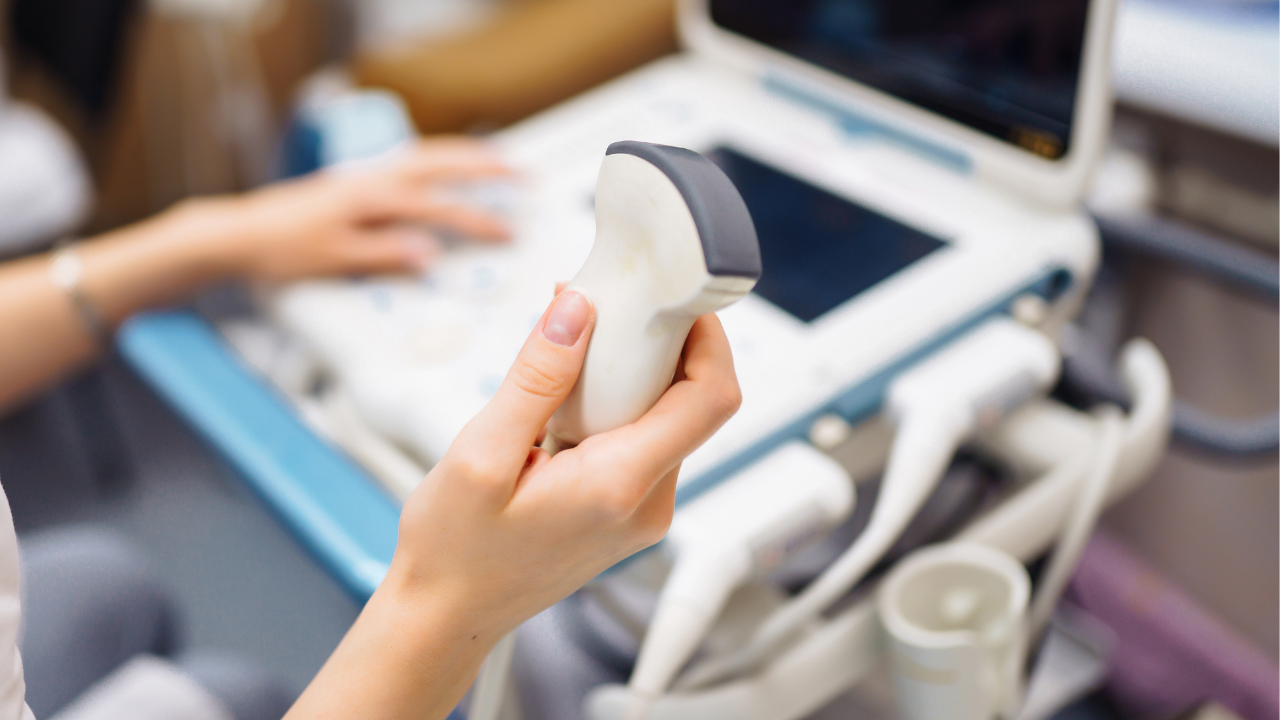
2. Master Transducer Technique: Practice different transducer positions and angles. The way you place the transducer can affect the quality of the image. Use steady, controlled movements and try to maintain a perpendicular angle to the structure of interest for the best results.
3. Enhance Patient Cooperation: Ensure that the patient is comfortable and understands the procedure. Proper positioning and communication can help minimize movement and allow better imaging. If needed, utilize techniques like breath-holding to improve image quality during critical moments.

How can small changes in probe handling or patient positioning significantly enhance image quality?
Small changes in probe handling and patient positioning can significantly enhance ultrasound image quality in several ways:
1. Probe Angling and Pressure: The angle at which the probe is held can affect the visualization of structures. Small adjustments can help optimize the view of the anatomy being examined. Applying the correct amount of pressure can also help reduce artifacts and increase contact with the skin for better sound transmission.
2. Patient Positioning: Patient positioning can greatly influence the quality of the image. Certain positions may help better visualize specific organs by reducing gas interference or allowing gravity to enhance fluid dynamics (as in ultrasound of the abdomen). For example, moving a patient to a left lateral decubitus position can provide clearer views of structures like the heart or spleen.
3. Stabilization: Keeping the probe steady is crucial for obtaining high-quality images. Utilizing a comfortable grip and stabilizing the probe against the patient’s body can minimize motion artifacts, leading to clearer images.
By focusing on these elements, you can optimize the conditions for image acquisition, reducing noise and enhancing the visualization of relevant anatomy and pathology.

When optimizing machine settings like depth, gain, or focus—what are your go-to adjustments or common mistakes to avoid? When optimizing ultrasound machine settings, here are some effective adjustments to consider, along with common mistakes to avoid:
Go-To Adjustments:
1. Depth:
· Adjustment: Set the depth to encompass the entire area of interest without unnecessary extra space. This ensures optimal resolution for the structures you need to visualize.
· Tip: If you're examining deeper structures, increase the depth to avoid missing important details.
2. Gain:
· Adjustment: Adjust the gain to enhance the brightness of the image. Tweak it so that the structures are well-defined without appearing too bright (which leads to blooming) or too dark (which can obscure details).
· Tip: Always use a reference structure, like a known echogenicity (e.g., kidney or liver), to guide gain settings.
3. Focus:
· Adjustment: Position the focal zone at the level of the structure of interest to achieve optimal resolution. The more focal zones you use, the clearer the image can be, especially for complex anatomy.
· Tip: Avoid placing the focal zone too low or too high; it should align with the region you are assessing.
Common Mistakes to Avoid:
1. Overadjustment: Making extreme changes can result in loss of detail. Make small, incremental adjustments to settings and reassess the image quality.
2. Inconsistent Settings: Neglecting to adjust settings based on the patient’s size, body habitus, or the specific organ being examined can lead to suboptimal images. Always reassess settings for each patient.
3. Ignoring Artifacts: Artifacts can arise from incorrect settings. If you notice shadowing, enhancement, or noise, reassess depth, gain, and focus. Don't hesitate to make necessary adjustments to minimize these issues.

What’s your approach to scanning technically difficult patients—any strategies for navigating suboptimal imaging conditions?
Scanning technically difficult patients can be challenging, but there are several strategies you can employ to navigate suboptimal imaging conditions effectively:
1. Optimized Patient Positioning: Experiment with different positions to obtain the best views. For example, using the left lateral decubitus position can help visualize certain abdominal organs. Elevating the patient’s arms or guiding them to hold their breath at specific times can also aid in reducing artifacts and improving imaging conditions.
2. Utilize Breath Techniques: Instruct the patient to take deep breaths, hold their breath, or breath normally, depending on the area being scanned. Breath-holding can stabilize the area of interest for clearer images, while normal breathing can be useful for dynamic assessments.
3. Adjust Machine Settings: Don’t hesitate to modify machine settings iteratively. Increase the gain to improve image brightness or adjust the depth if the structures of interest are obscured. Make real-time adjustments as needed based on what you see on the screen.
4. Change Transducer Types or Frequencies: If using a linear probe isn’t yielding good results, consider switching to a curved or phased array transducer. Higher-frequency transducers provide better resolution for superficial structures, while lower frequencies can penetrate deeper tissues.
5. Use of Contrast Agents (if applicable): In some cases, utilizing ultrasound contrast agents can enhance clarity, especially in organ perfusion assessments or in identifying lesions that may not be clearly visualized by standard ultrasound alone.
6. Patience and Communication: Communicate clearly with the patient about what you need from them, and take the time to explain the process. Patience can help reduce anxiety, which often leads to better cooperation and image acquisition.
7. Plan Your Approach: Before the scan, have a clear plan regarding which areas to focus on. Prioritize views that are likely to be successful based on the patient's condition.
What’s one myth or misconception about ultrasound scanning that you often find yourself correcting in training or clinical practice?
One common myth about ultrasound scanning is the belief that it is a standalone diagnostic tool that requires no additional context or correlation with other clinical information. Many individuals, including patients and even some new practitioners, may assume that ultrasound results alone are definitive for making a diagnosis.
Correcting the Misconception: In reality, ultrasound is most effective when used in conjunction with a comprehensive clinical assessment, including patient history, physical examinations, and other imaging modalities as needed. Ultrasound provides valuable real-time information about soft tissues, blood flow, and organ structure, but its interpretation is highly dependent on the clinician's understanding of clinical scenarios and the context of the findings.
Reflective Angle: This misconception highlights the collaborative nature of healthcare and the importance of a holistic approach to diagnosis. It underscores the necessity for practitioners to communicate effectively with other healthcare professionals and to integrate findings from various sources for the best patient care outcomes. As we continue to educate and train future practitioners, fostering an understanding that ultrasound is a powerful tool within a broader diagnostic strategy is vital for both patient safety and effective healthcare delivery.

