Tips to Maintain your Ultrasound Machine
Properly maintained ultrasound systems can last for around seven years. That being said, one must know the steps to maintain their equipment. Let's review four simple habits that can help keep a well-maintained and well-working ultrasound machine.
Read your user manual for maintenance guidelines
The first piece of advice we can give is to read the manual before actually using the ultrasound machine. Most manufacturers (if not all) include critical information when it comes to maintenance. You will find disinfection guidelines, as well as lists of approved chemicals or disinfectants.
There are also recommendations of how frequently you should service your equipment.
Behind the black & white images, ultrasound machines are pretty much like ordinary computers. As a result, you'll also want to make sure that your ultrasound software gets every update released by the manufacturer. They can help with the performance of the CPU and potentially increase its lifetime.
Buy maintenance plan for your ultrasound machine
Servicing your equipment is extremely important as you may not notice some wear and tear that can cause big issues over time. For instance, you might not see an image quality loss as you use the ultrasound every day, but trained experts can. They can diagnosis your equipment and therefore prevent bigger issues from happening, potentially costing hundreds, if not thousands in repair.
OEMs (original equipment manufacturer) or third party provided offer service and maintenance plans for your ultrasound. OEM maintenance tends to be slightly more expensive as their expertise is unbeatable (they designed your ultrasound system after all). On the other hand, independent technicians also provide great service and are generally more available. That is an important factor, as no one likes to wait days for their ultrasound to be fixed.
Even though your work in a big facility or hospital with a dedicated engineer team, it is still beneficial to carry a maintenance plan as they often cover replacement parts. They also cover major fixes that couldn't be done in the hospital. Finally and unless you really know what you are doing, always check that in-house repairs don't void the warranty if your machine comes with one.
Implement pre or post-exam inspection
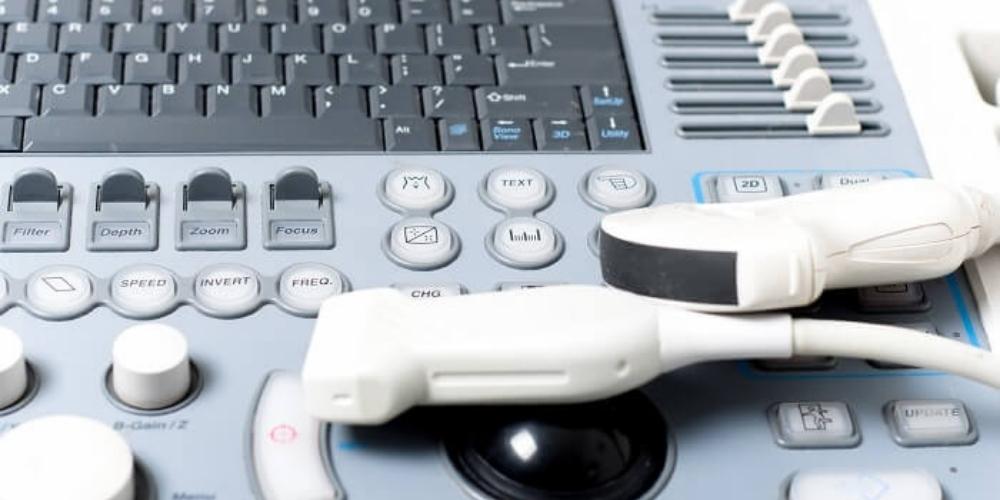
A good way to extend your ultrasound machine lifetime, and avoid expensive repair or maintenance costs, is to take a few seconds to inspect it prior to your exam. The most fragile part is certainly the transducer. Look for cracks or swellings on or near the lens. This membrane is made of piezoelectric crystals that emit ultrasonic waves. The waves are then received back by the transducer and processed by the CPU, forming images. If the crystals get damaged, it results in poor image quality. Depending on the severity and the location of the damage, you can potentially end up with dark strips or degraded images. This is an issue for you and your team as diagnostics may be biased by bad images.
The next part you want to check is the cable and connector portion. They carry the signal from the crystals to the CPU. If they get altered your image will suffer too. After countless disinfection cycles or hours in contact with gel, some plastic parts will turn yellow and get more rigid. This may cause cracks and tears. Also, the connector is composed of dozens of small pins that can easily break if mishandled. Be sure to check them too.
Finally, it is wise to check the ultrasound unit itself from time to time. Some gel might have spilled on the keyboard, or some liquids (like disinfectants) may slip through cracks. The electronics inside won't like it.
Protect your equipment during at all times
This is probably the most important part. If you want to maintain your ultrasound machine, you want it to be well protected during all the phases of its cycles.
During examinations
It first needs to be protected from body fluids and contagious agents during scans. To achieve that, use a proper ultrasound probe cover. All too often, we see unadapted solutions being used as probe covers. Not only they do not respect the basics of infection control, but they contribute to higher-than-normal wear. For instance, the Tegaderm from 3M is not design nor approved (by FDA and OEMs) as a probe cover. Their adhesive surface will deteriorate the transducer membrane quickly. Instead, we recommend the SaferSonic covers, which are also adhesive (pre-gelled surface) and are FDA-approved as a physical barrier.
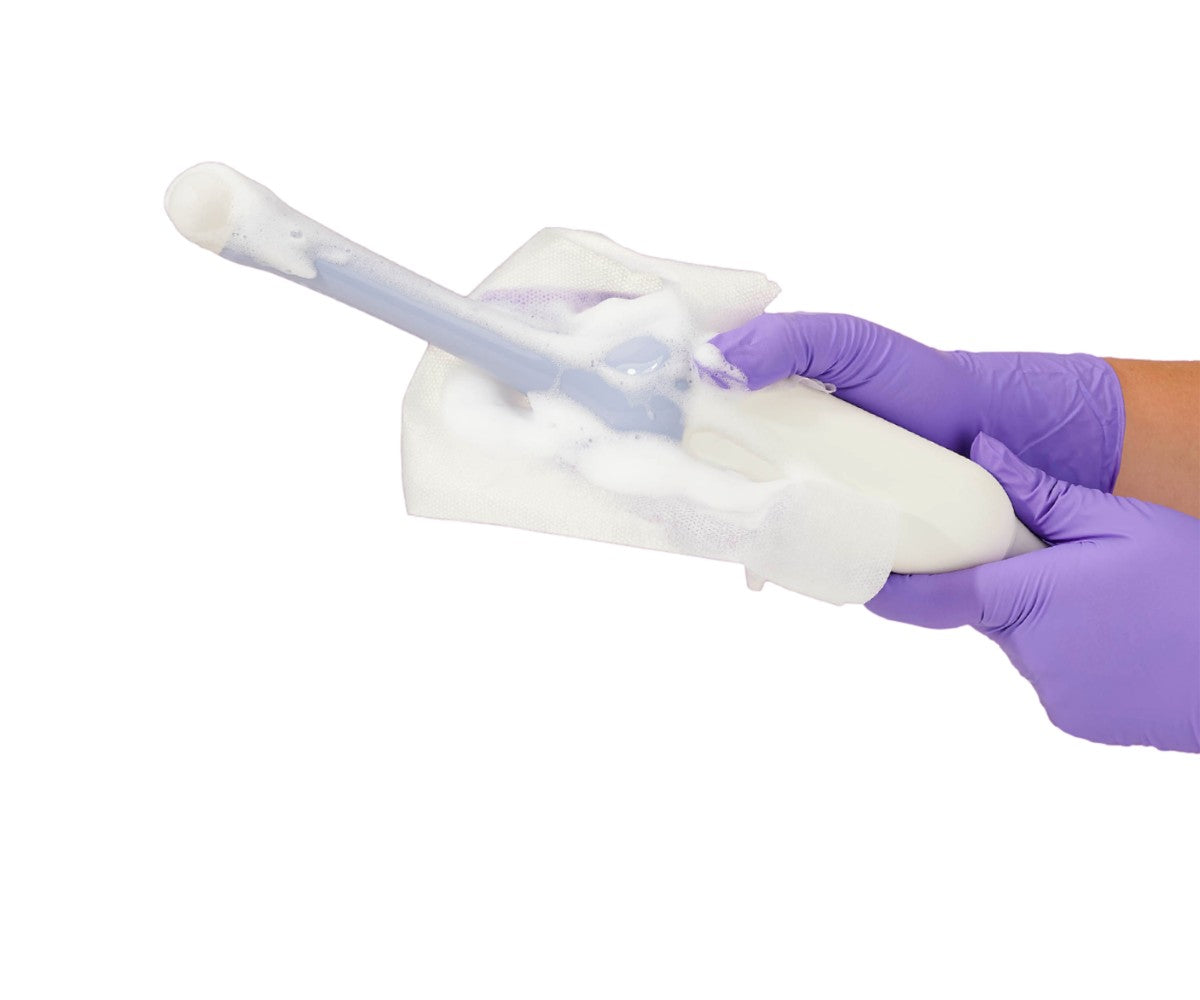
During disinfection
When arrives the disinfection time, you need to follow the manufacturer's recommendations. Can your transducer be sterilized with heat (autoclave)? Probably not. Does it need to be soaked? What chemicals are safe for the membrane and other plastic parts? You'll find the right answer in the user manual. You can also visit the OEM website. Whether you need to perform a low-level or high-level disinfection, always use products designed for ultrasound instruments. Usually, ultrasound machine manufacturers have dedicated white papers about do's and dont's for ultrasound probes
During storage
You also want to be careful about how you store your ultrasound. Comes the end of the day, and the machine should be stored in such fashion as to protect the transducer from damage and recontamination. We recommend using probe storage covers, probe storage cabinet, or even both.
During transport
Finally, should the ultrasound system be rolled from one room to another, you want to keep your transducer from shaking, falling or hitting surfaces. We suggest that you disconnect the transducer from the rest of the system before rolling the ultrasound cart away. Otherwise, be sure that the probe is securely placed in the holders near the screen.
Now you know all the basics to properly maintain your ultrasound machine.